Give New Life to Found Furniture

Today we dive into reupholstering salvaged sofas and chairs with a friendly, beginner’s step-by-step guide that turns curbside finds into cozy centerpieces. You’ll learn how to assess frames, gather tools, strip safely, rebuild comfort, sew with confidence, and finish beautifully, while saving money, reducing waste, and crafting pieces that feel personal, durable, and full of character.

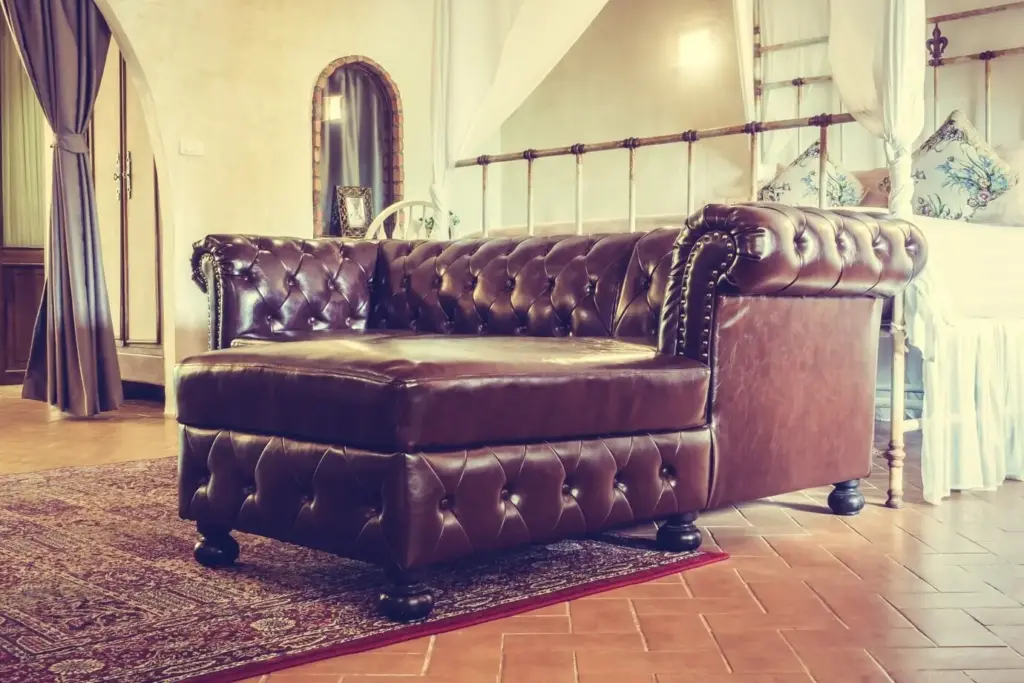
Choose and Inspect Hidden Gems

Before a single staple is pulled, understanding what is worth saving keeps you safe, budget-wise, and inspired. Learn to spot sturdy hardwood frames, sniff out odors that signal trouble, identify pests or mold, and test for wobble or sagging cushions. With keen eyes, you’ll rescue pieces with great bones and skip costly mistakes that drain time, energy, and enthusiasm.

Gather Tools, Fabrics, and Foam

Having the right tools and materials makes every step smoother and results more professional. From staple lifters to fabric yardage math, we’ll outline budget-friendly choices and pro favorites. Learn how foam density affects comfort, why batting matters for smooth shapes, and how durable upholstery fabrics survive pets, sunlight, and daily life without sacrificing style or personality.

Essential Tools on Any Budget

Start with a staple remover, pliers, heavy-duty stapler, mallet, fabric scissors, chalk, and measuring tape. Add a tack hammer, webbing stretcher, dust mask, and safety goggles for tougher jobs. A borrowed sewing machine or community makerspace can bridge gaps, while small upgrades like quality staples and sharp blades instantly elevate results and make learning less frustrating.

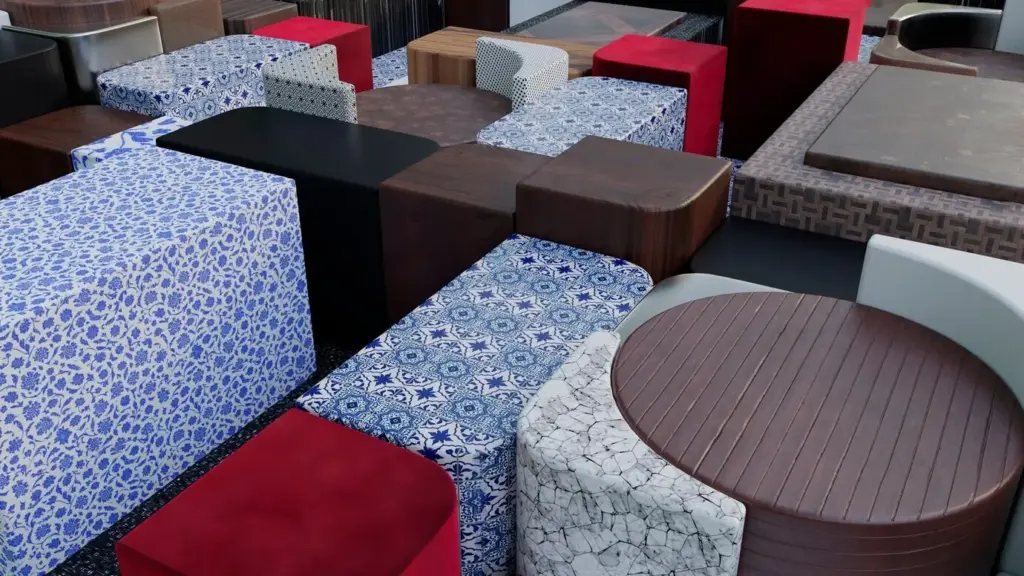
Fabric, Foam, and Batting Choices

Choose upholstery-grade fabric rated for abrasion, considering colorfastness and texture. Match foam density to seating needs, balancing resilience and comfort. Wrap cushions with polyester batting for smooth edges and longevity. Consider performance textiles for pets and kids, and explore recycled or natural fibers. Post swatch photos and ask for feedback; our community loves helping pick reliable, beautiful materials.

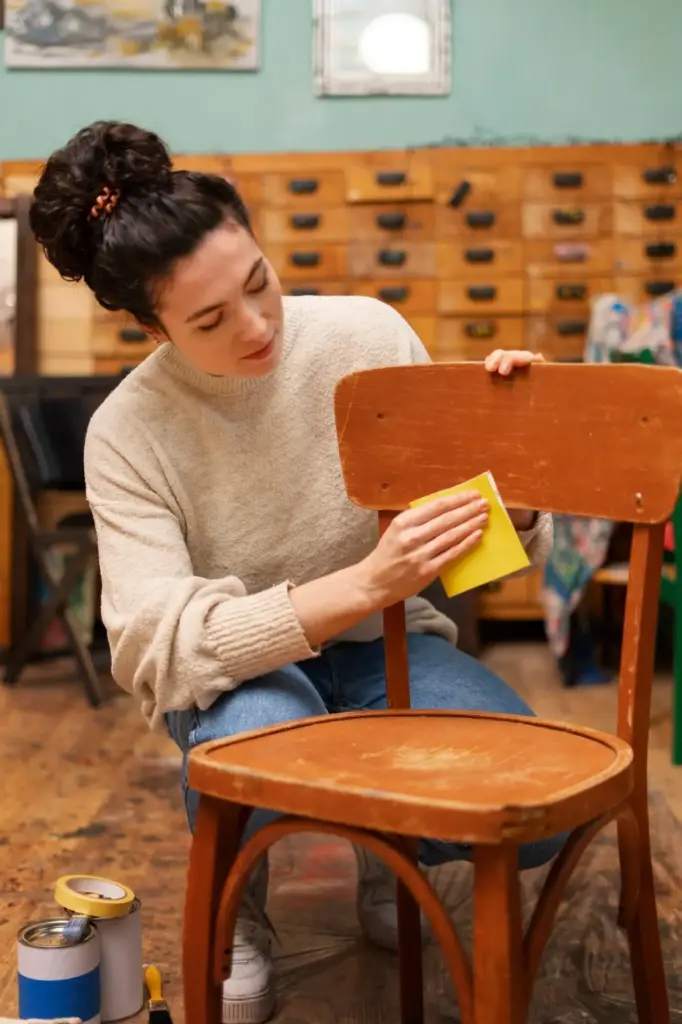
Careful Teardown and Documentation

Disassembly is your secret blueprint. As you remove fabric, you reveal how the piece was built, where panels overlap, and which staples anchor structural layers. Photograph every angle, label each cover, and bag fasteners by area. These notes simplify reassembly, prevent guesswork, and keep momentum when your project stretches across evenings, weekends, and well-earned coffee breaks.

Webbing and Spring Basics

Install jute or synthetic webbing in a tight, crisscross pattern, anchoring with appropriate staples or tacks. For springs, inspect sinuous runs or retie coils if present, ensuring consistent tension and edge support. Add burlap barriers where needed. Share your progress photos; feedback on spacing, tension, and attachment points can prevent uneven seats and frustrating mid-project corrections.

Padding for Shape and Longevity

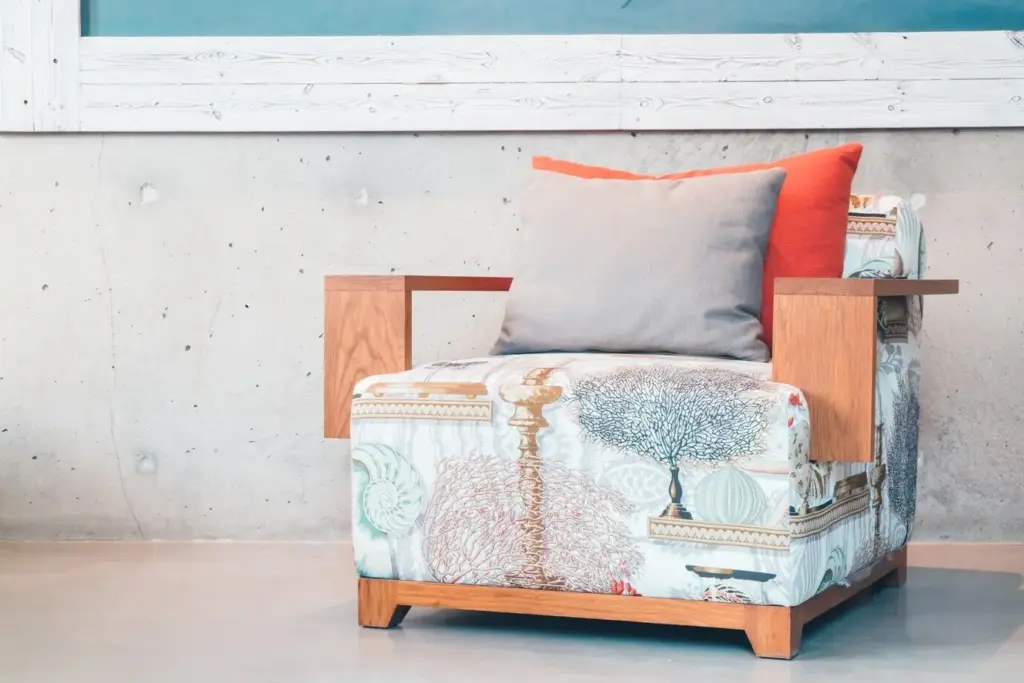
Shape arms and backs with layered foam and edge roll, then smooth with batting to eliminate ridges. Use spray adhesive sparingly to hold pieces in place. Consider high-resilience foam for high-traffic seating. This thoughtful layering yields crisp lines, soft landings, and fewer fabric wrinkles. Ask our community about favorite padding combinations that balance comfort, durability, and budget.

Frame Fixes That Last

Strengthen corners with new blocks, replace stripped screws with longer ones or dowels, and reglue joints with wood glue rated for furniture. Sand, then predrill to avoid splitting. Sealing exposed wood reduces future moisture issues. Share repair outcomes and costs so others can plan realistically, decide when to persist, and recognize when a frame is not worth rescuing.

Patterning, Cutting, and Sewing

Reusing old covers as patterns saves time and preserves fit. Trace carefully, add seam allowances, mark grain, and respect pattern repeats. Practice piping and zippers on scraps, and baste complex curves before final stitches. Precise cutting and steady sewing yield tight upholstery that stretches evenly, hugs contours, and rewards your patience with crisp seams and proud reveals.

Turn Old Covers into Patterns

Press removed covers flat, mend tears with tape, and trace onto craft paper or directly onto fabric with chalk. Add notes for staple placement, notches, and alignment marks. Keep directional fabrics consistent. Post a snapshot of your layout for community review; collaborative eyes often catch flipped panels, missing seam allowance, or pattern misalignment before the scissors commit.

Sewing Skills for Beginner Success

Start with a universal needle, polyester thread, and a longer stitch length for thick layers. Practice piping and corners on scraps, then graduate to zipper cushions. Use clips instead of pins to avoid holes in vinyls. If your machine struggles, slow down and guide steadily. Share first attempts; encouragement and actionable tips from peers make progress feel exhilarating.

Finishing Touches and Aftercare

Details complete the transformation. Add double welt or nailhead trim, refresh legs with stain or paint, and attach new dust covers for a clean underside. Then learn cleaning routines, stain strategies, and pet-friendly protections. Good finishes and maintenance protect your investment, celebrate your craftsmanship, and invite friends to admire a piece that has truly earned its second life.
Nepotukavomime
Privacy Overview

This website uses cookies so that we can provide you with the best user experience possible. Cookie information is stored in your browser and performs functions such as recognising you when you return to our website and helping our team to understand which sections of the website you find most interesting and useful.